
You can either watch the walkthrough video for a quick visual guide, or follow the step-by-step instructions below to complete the process manually.
1. Prerequisite: You’ve built an estimate with at least one assembly that includes selectable items (e.g., sink, vanity, HVAC, flooring).
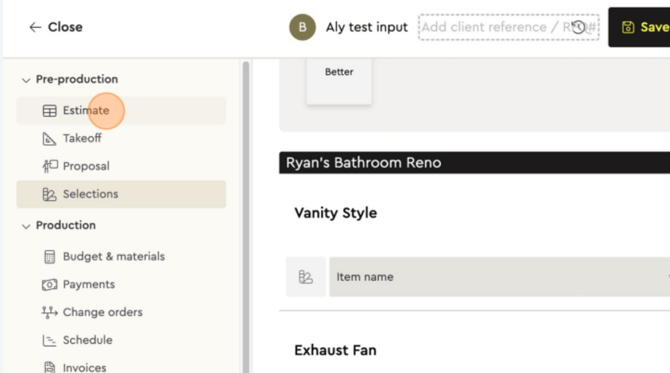
2.
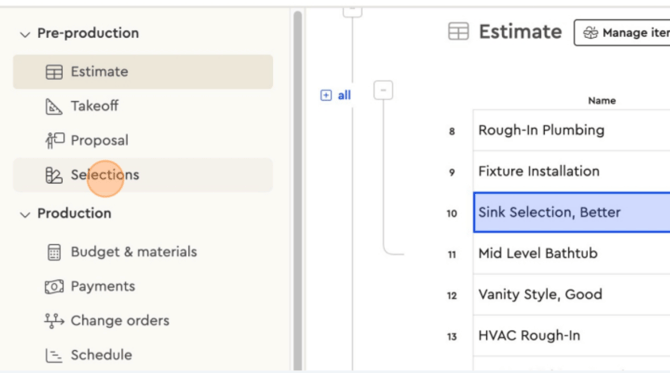
Open the Selections tab
-
Open the estimate you’re working on.
-
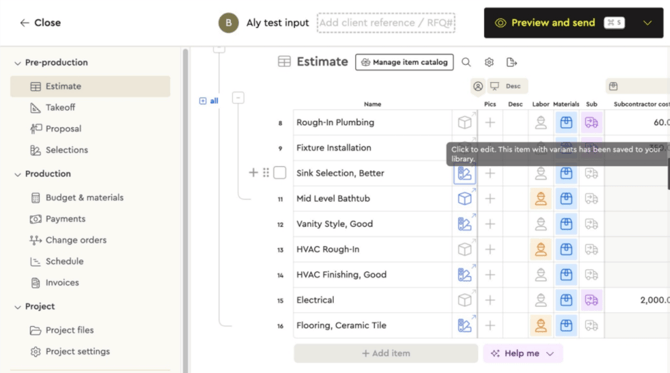
Click Selections.
• This shows every item in the estimate that has client-selectable options.
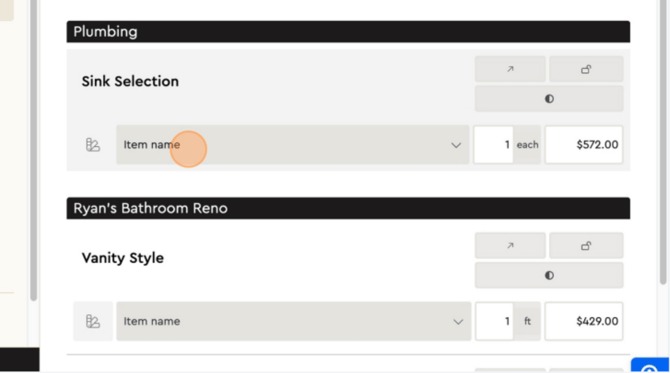
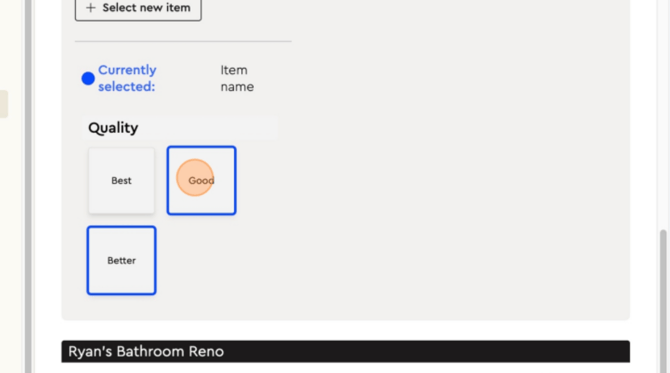
3. Locate the item and view its options
-
Find the relevant assembly (e.g., Bathroom → Sink).
-
Click the item’s dropdown to reveal all available options.
4. Choose how the selection behaves
Leave Unlocked (default):
-
The client can choose any option for this item.
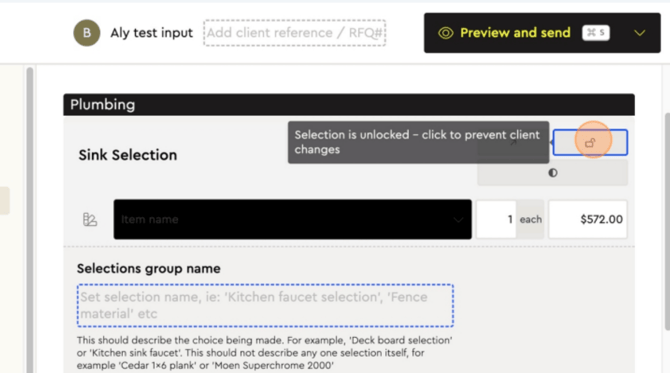
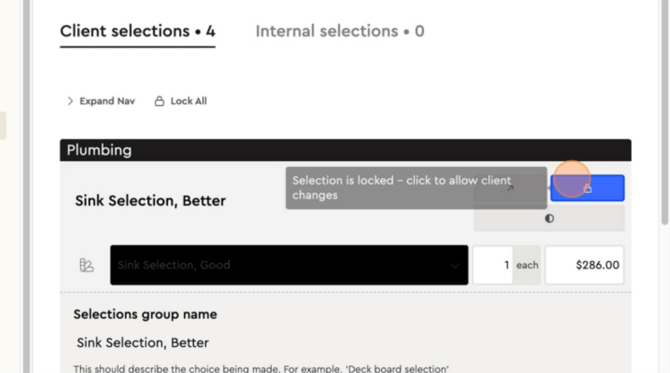
5. OR Pre-select & Lock:
-
Pick the option you want.
-
Click Lock.
-
The client will only see this locked choice and cannot change it.
-
Use this when you must match existing conditions or protect a fixed budget.
6. Click Lock.
-
The client will only see this locked choice and cannot change it.
-
Use this when you must match existing conditions or protect a fixed budget.
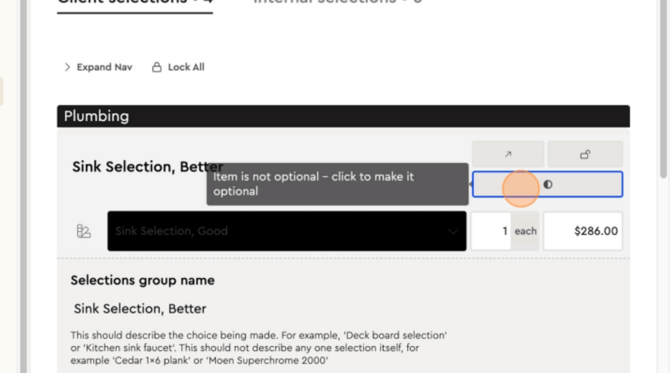
7. Mark Optional (if applicable):
-
Toggle Optional to make the item an add-on the client can include or skip.
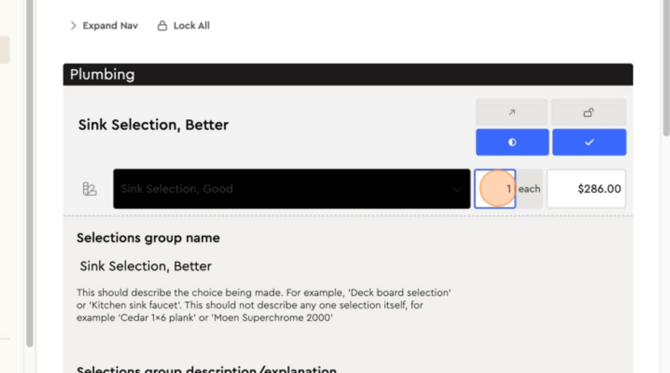
8. Adjust Quantity:
-
Update Qty if more or fewer units are needed.
9. Review and finish
Review all selections to ensure they’re correctly locked/unlocked, optional, and quantities are accurate.
Click Back to Estimate to continue building or adjusting the estimate.
10. Quick Reference
• Unlocked: Client chooses.
• Locked: Contractor’s choice is fixed; client can’t change it.
• Optional: Client can add/remove the item.
• Qty: Set the number of units for the selected option.
Tip: Use Lock when specifications are predetermined, when matching existing finishes, or when you must hold a strict price. Use Unlocked when you want the client to self-select from curated options.